Up to 50% OFF
EOFY SALE: Up to 50% OFF
Spend $300+ Get Extra 10% OFF
Spend $550+ Get Extra 15% OFF
To celebrate the launch of our new Bread Oven, we knew Nora would be the best person to ask about all things bread baking and were lucky enough to catch up with her and really unpack the art and work that goes into a gorgeous looking loaf.
"It all started around 9 years ago when my husband and I binge-watched "The Great British Bake Off" which completely inspired me to the extent where I always had my little notebook at hand to jot down all the recipes and ideas that caught my eye while watching. Though I was particularly drawn to savoury dishes, bread baking always piqued my interest and quickly became a favourite of mine. There's just something so satisfying about the whole process."
"I've been using commercial yeast throughout my 9 years of bread baking and it was earlier this year where I took it to the next level and kickstarted my sourdough journey. At that point we were buying a loaf of sourdough each week so I thought - why don't I try making it myself?"
"There truly is an art to sourdough, when I first started it took me a week to develop my starter and plenty of failed attempts in the beginning - from gummy textures to flat loaves. But the best advice I received was from my cousin, who said, "Just keep baking - it's the only way to improve." and she was absolutely right. That mindset has kept me baking every weekend and I've learned to recognise when the starter is at its peak, which flours I love to use and essential shaping techniques. Most of all, I'm really prout of the loaves I produce even if they aren't perfect - they're still amazing!"

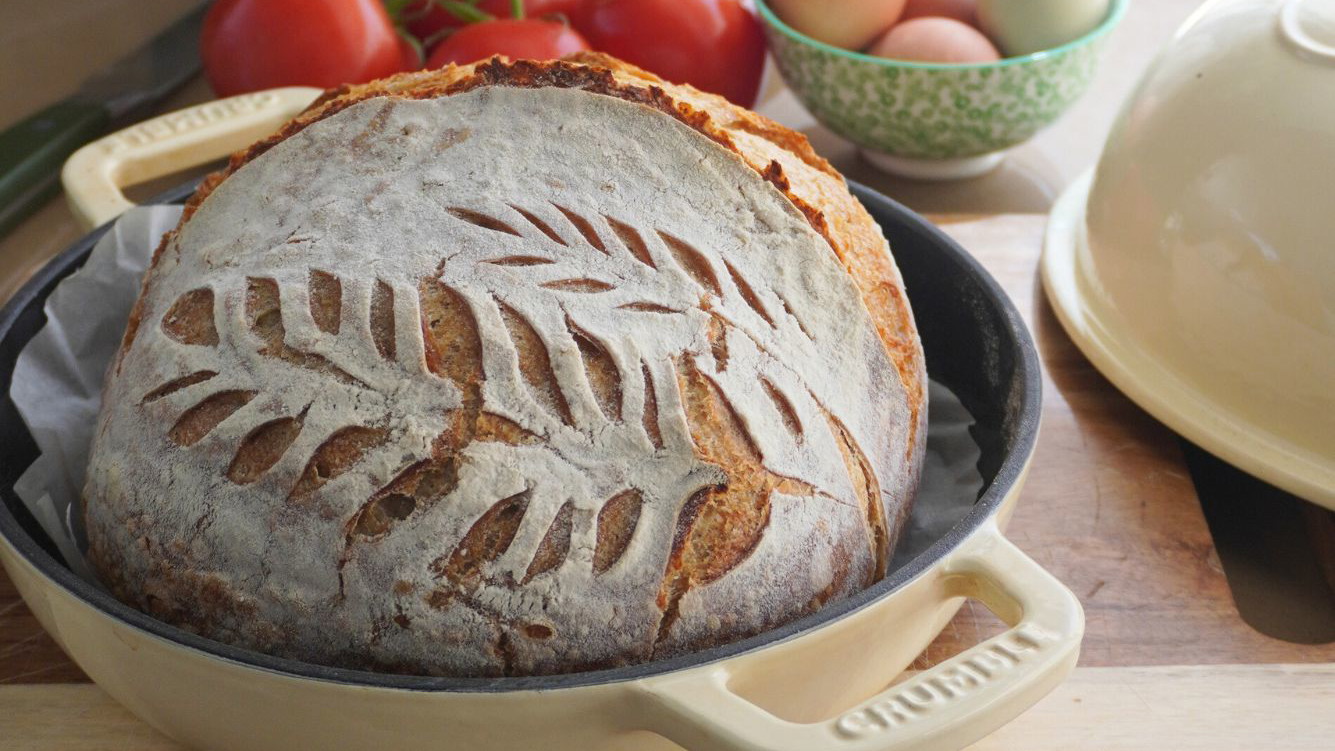
"I've honestly been loving it so far - an absolute game changer for me! I recently noticed that my oven struggles to maintain a consistent temperature, impacting the quality of my loaves. For the perfect loaf, you need steady heat and steam and with the Crumble Bread Oven, I was able to do just that with it's great heat retention and circular dome."
"From the first time I baked with the Crumble Bread Oven, the results were incredible. The loaf had an excellent, thick crust with an open crumb, and it sprung up beautifully - giving me a rise that I had never achieved before."
"For any home bakers out there with a standard oven, the Crumble Bread Oven is a must-have if you're serious about baking bread at home."

"I would say - try to think of it just as if you were growing your own food. Take tomatoes for example, you plant the seedlings, watch the flowers grow, fertilise it, encourage pollination, and protect the fruit from insects and birds. It can seem like a lot of work, but once you harvest that juicy ripe tomato, all the effort is worthwhile."
"Same goes for baking bread, it certainly can be time-consuming, but the rewards are unmatched. When you bake your own bread, especially with the right tools like a dedicated bread oven, you're not just making food - you're really diving into the art of it, something you made with care, attention and love. Plus, the smell of freshly baked bread filling your home and feeling of cutting that first slice to unveil the gorgeous interior makes for a rewarding and enjoyable ritual."
"When I first started I was a victim of under proofing and over proofing. But here are four key tips that has helped with the perfect loaf every time."
"First, temperature - my mistake when starting was adding the loaf into the oven before it was thoroughly heated. Getting the temperature right is crucial for sourdough and a preheated oven is essential. If you're using the Crumble Bread Oven, make sure it's thoroughly heated before placing your dough inside as that initial burst of heat is what gives your loaf that beautiful spring."
" Second is proofing time - under proofed dough will result in dense bread, while over proofed dough collapses during baking. A rule of thumb is to let your dough rise until it's just doubled in size. I also like to use the 'poke test' where you gently press your finger into the dough and if it springs back slowly, it's good to go!"
"Third would be to not rush the process - if you're used to baking with commercial yeast, you might think things will be quick. However, sourdough is all about patience. From developing your started to the slow fermentation process, every step benefits from taking your time. The long fermentation not only enhances the flavour but also makes the bread easier to digest."
"Finally, practice makes perfect - don't be discouraged by early failures. Each loaf teaches you something new about your dough, your environment and your technique. Keep baking, and you'll continue to improve with every loaf (just like me! ❤️)

"Yes! I've tried multiple different sourdough recipes, but this one is my favourite to share with anyone who is keen to begin their sourdough journey. Hope you enjoy it!"

Free Metro Shipping Over $200

30 Days Risk Free Trial

Limited Lifetime Warranty